Phone: 403-714-0080
Email: service@fixoncall.ca
Calgary & surrounding areas
Phone: 403-714-0080
Email: service@fixoncall.ca
Calgary & surrounding areas
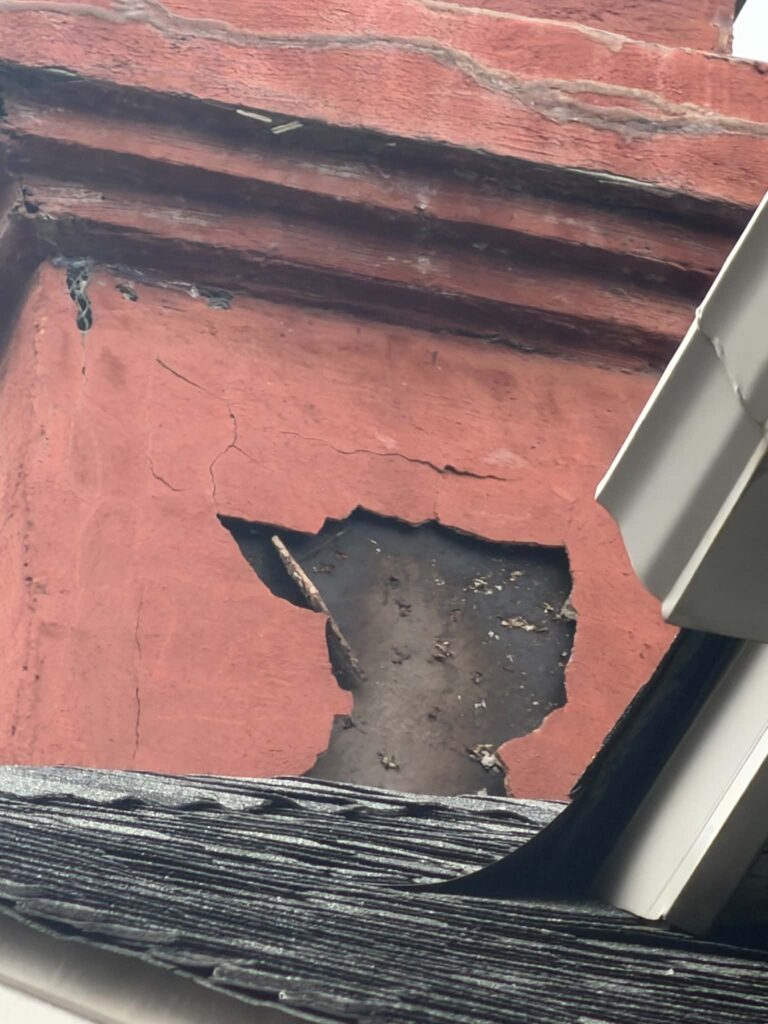
Exterior repairs are easier to understand when the work is shown in sequence. This chimney repair before and after photo story follows one Calgary chimney from visible surface damage through wire-mesh preparation, a fresh base coat, and the finished red exterior.
The opening, cracking, and missing surface material in the first photo establish the visible condition before the exterior work began. Part of the finish has broken away just above the roofline, and cracks run across the surrounding surface and the band near the top.
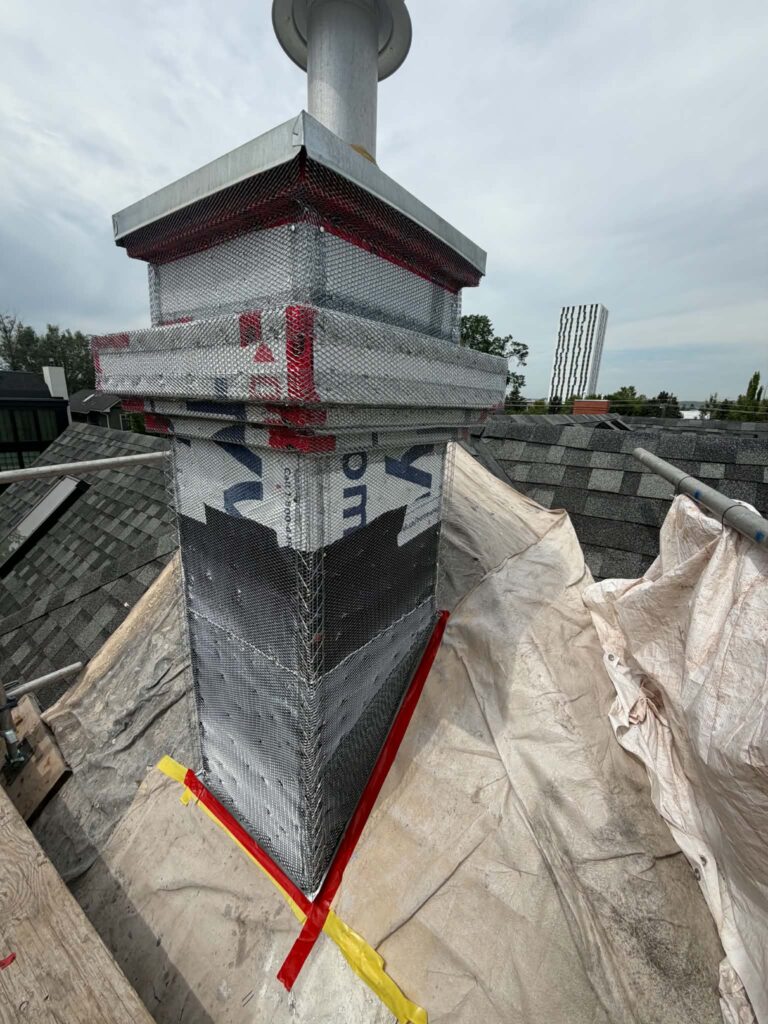
The next stage shows the work area covered and wire mesh installed around the chimney. Tarps protect the surrounding roof, and the chimney is wrapped before the mesh goes on. It documents the preparation visible before the fresh exterior layer shown later in the project.
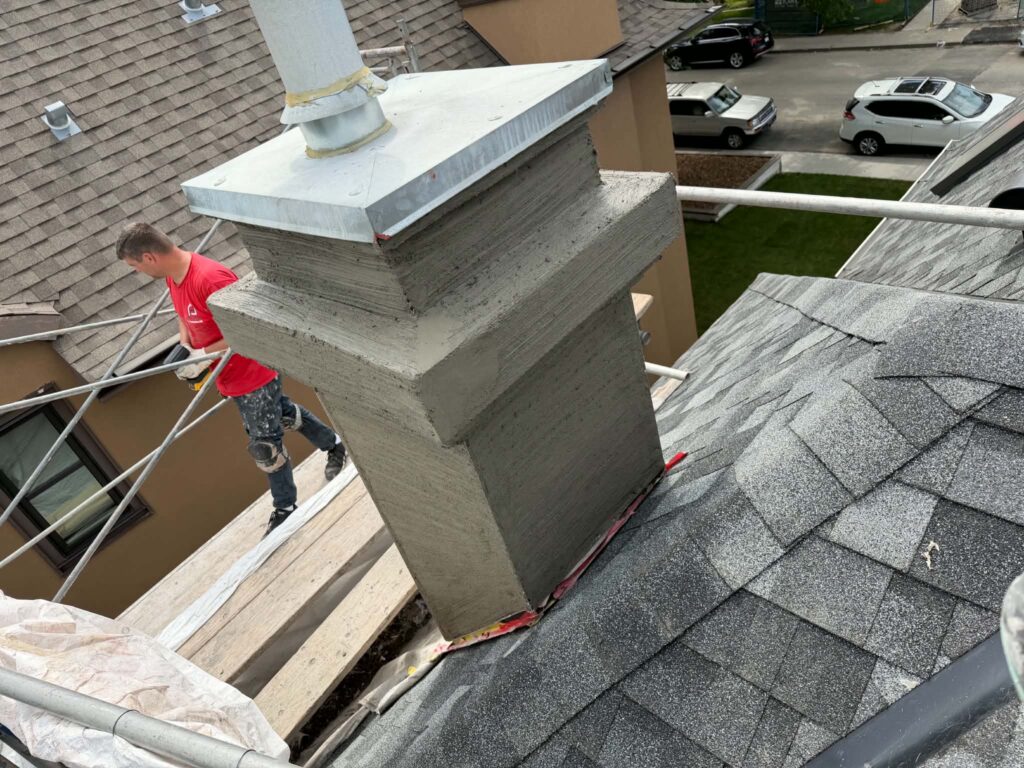
A later image records a fresh exterior layer across the chimney from the roofline view. At this stage the chimney is covered in a grey base coat, with the shape of the top bands already formed and the metal cap in place.
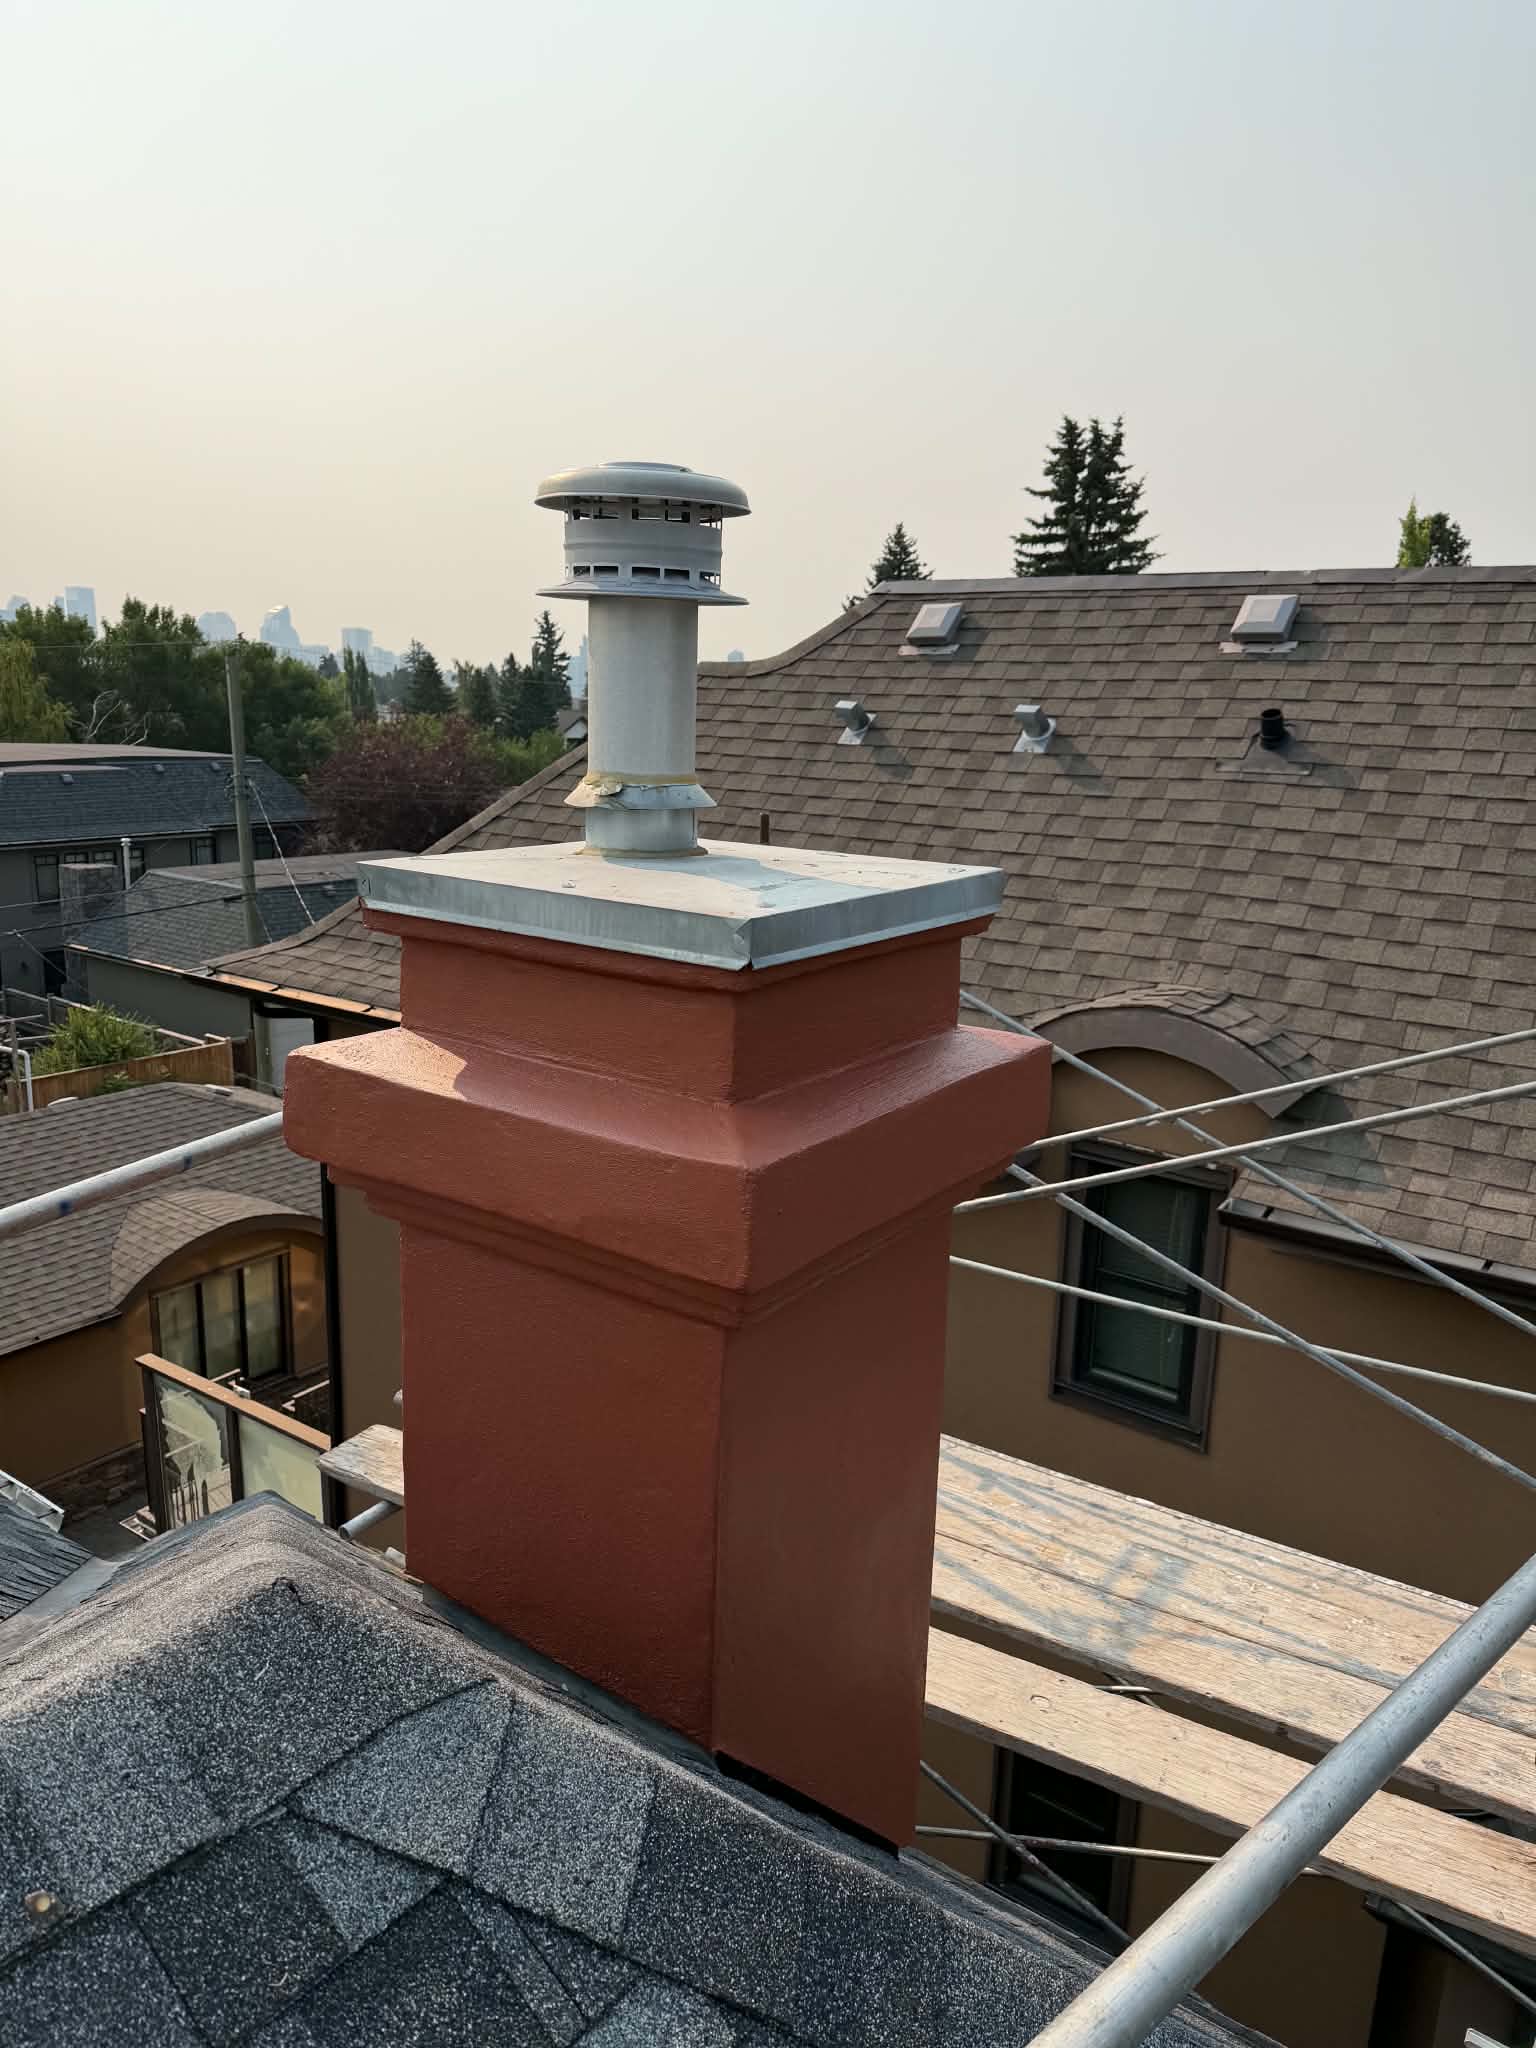
The final photos show the completed chimney exterior from two angles, including the finished textured surface, the red exterior colour, the metal cap, and the flashing where the chimney meets the roof.
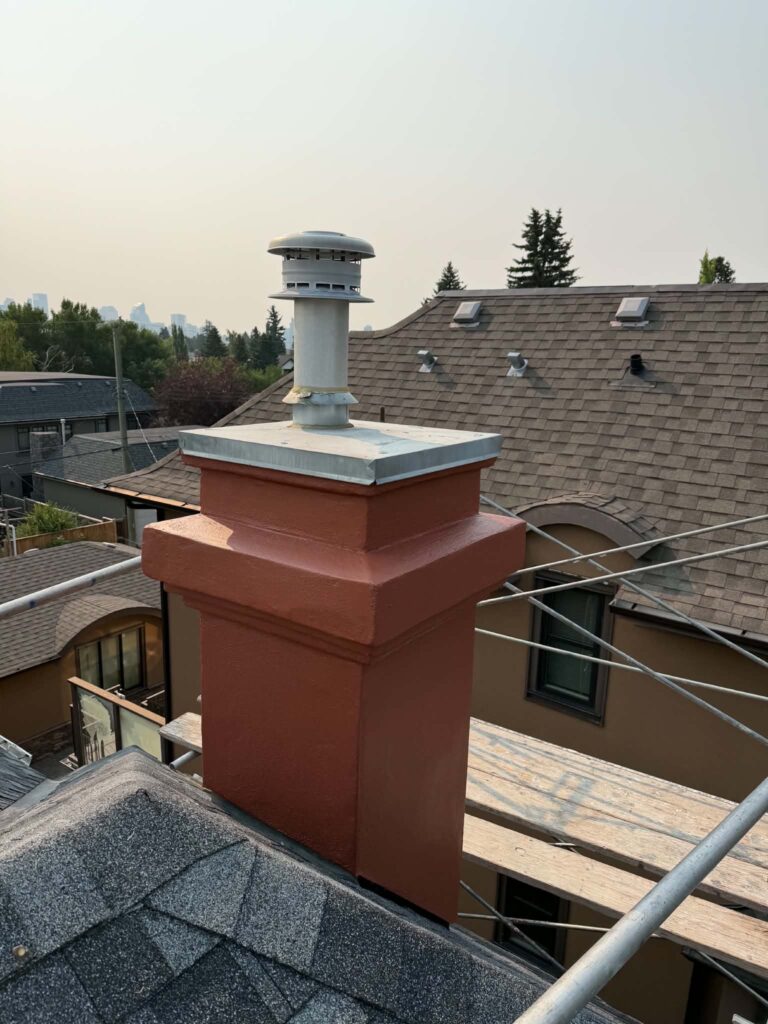
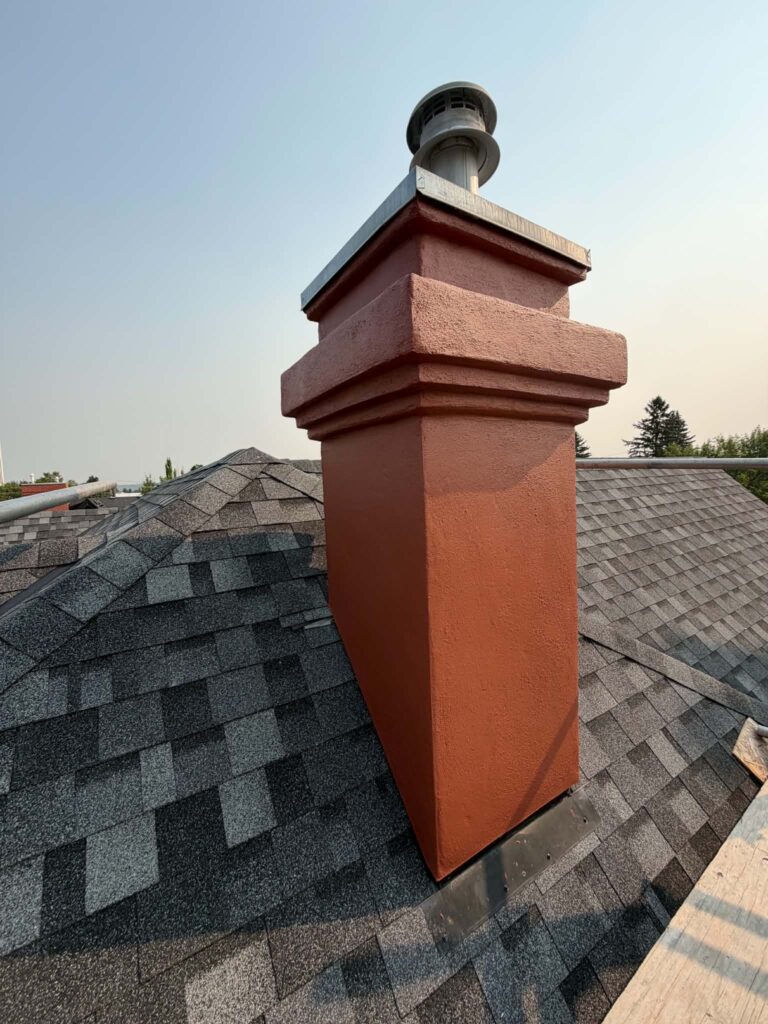
One final photo can show the result. A project sequence gives homeowners a clearer view of the visible starting condition, the preparation, and the finished exterior. That context can make a quote conversation more practical when you are considering a chimney or stucco repair.
For a closer look at why chimney exteriors wear the way they do and what a repair scope can include, read Chimney Repair in Calgary: Why It Matters More Than You Think. Chimney work is one part of the wider exterior repair work we do in Calgary, alongside stucco, parging, painting, and staining.
An opening like the one in the first photo usually starts with smaller signs. Calgary’s freeze-thaw cycles, hail, and strong sun all work on a chimney finish, so it is worth a look every spring and fall. From the ground or a window, watch for:
You do not need to climb onto the roof to check. Clear photos taken from the ground are usually enough to start a conversation about next steps.
Fix On Call helps homeowners in Calgary and surrounding areas with chimney exterior repair, stucco repair, and other exterior finishing work. If you have questions about a chimney exterior, share a few photos and a short description of what you are seeing. Call 403-714-0080 or email service@fixoncall.ca to book a free estimate.